Flow Access with Poller Service Account
In Utilihive, every flow must be associated with a service account. Flows that expose HTTP endpoints use credential types such as BasicAuthentication, ApiKey, mTLS, or OIDC, where an external entity authenticates on each request.
Some flows have no external caller. They generate or acquire messages on their own — triggered by a timer or by polling an external system. These flows use the Poller User credential type, and the service account assigned to them is a Poller Service Account.
Poller Service Account
The Poller Service Account is the internal identity that Utilihive uses to authorize a self-triggering flow at the source boundary, without generating credentials for an external caller.
Flows that require a Poller Service Account are:
| Flow Source Processor | Reason |
|---|---|
Consumes messages from a Google Cloud Pub/Sub subscription. |
|
Polls an SFTP server. |
|
Polls an AWS S3 bucket. |
|
Polls Azure Blob Storage. |
|
Consumes messages from Azure Event Hubs. |
|
Receives data from Habitat. |
|
Consumes messages from a JMS broker. |
|
Consumes messages from a Kafka topic. |
|
Receives messages from an MQTT broker. |
|
Reads tags from an OPC UA server. |
|
Reads messages from a RabbitMQ queue. |
|
Triggered internally by the Flow Server on a cron schedule. |
Integrate Poller Service Account with Flow Processor
Step 1: Create the Poller Service Account
-
In the Utilihive Console, go to Security and select Create Service Account.
-
Enter a Name (for example, my-scheduled-flow-poller).
-
Set the Credential type to Poller User, and click Create.
You have created a Poller Service Account.
Step 2: Write the Source Flow
A schedule-driven flow uses schedule as its source processor — the first and only entry point. Because no external entity triggers it, the flow must be assigned a Poller Service Account.
The following flow is an example that polls a public joke API every two seconds and logs the response. Replace this with your own flow definition.
// The flow is assigned to a Poller Service Account, which is used for authorization at the source boundary.
val flowSpec = flowConfig {
        id = "fun-flow"
        ownerId = OWNER_ID
        exchangePattern = FlowExchangePattern.RequestResponse

        schedule {
            id = "scheduler"
            scheduleExpression = "0/2 * * ? * * *"
        }
        restRequest {
            id = "get-joke"
            defaultMethod = HttpMethod.GET
            address = URL("https://official-joke-api.appspot.com/random_joke")
        }

    }
For guidance on writing a flow, see the Single-Flow Design and Multi-Flow Design.
Step 3: Grant Flow Access to the Poller Service Account
-
In the Utilihive Console:
-
Go to Flows and select
your-flow. -
Open the Flow Access tab and select Add Flow Access.
-
Select the Poller Service Account, confirm with Add, then save with Add Flow Access.
-
-
Using
flow-access.properties(SDK Deployer): setmy-scheduled-flow-poller=your-flow
Step 4: Deploy the Flows
To deploy the flow, use the SDK deployer or the Utilihive Console. The scheduled flow will now run on the defined schedule, and the Poller Service Account will be used for authorization at the source boundary.
mvn -P deploy-flows -D owner-id=your-owner-id -D environment=testGo to the Flows tab in the Utilihive Console to verify that the flow is up and running.
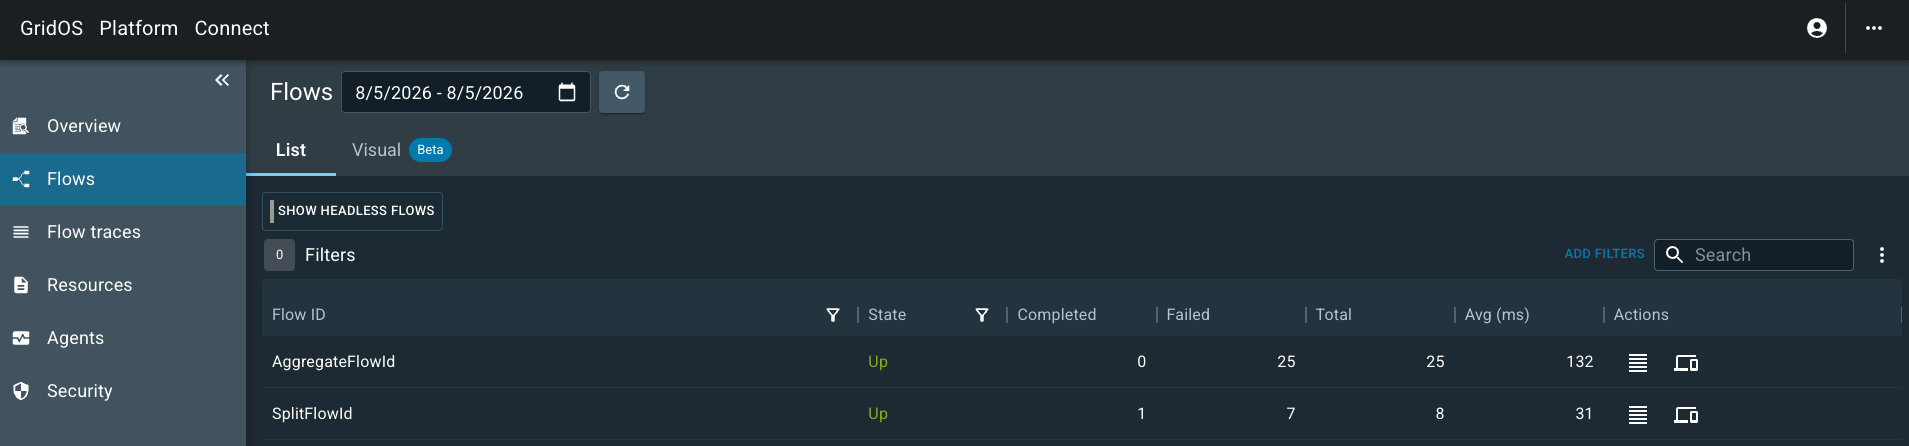
To view the logs of the scheduled runs, go to the Flows traces tab.

You have successfully deployed a flow and granted it access to a Poller Service Account.
| Poller-based sources authenticate once during setup while push-based connections authenticate on every inbound request. |